Configure Meraki VPN Client
Estimated reading time: 3 minutes
Before start VPN configuration
You will request from your IT team next information:
VPN configuration settings you will get from IT
Server address: vpn.consto.com
Shared secret: testSharedKey$
Username: Your username from AD
Password: Your password from AD
MFA is supported? Yes / No
Meraki VPN setup
Mac OS X
Open System Preferences -> Network
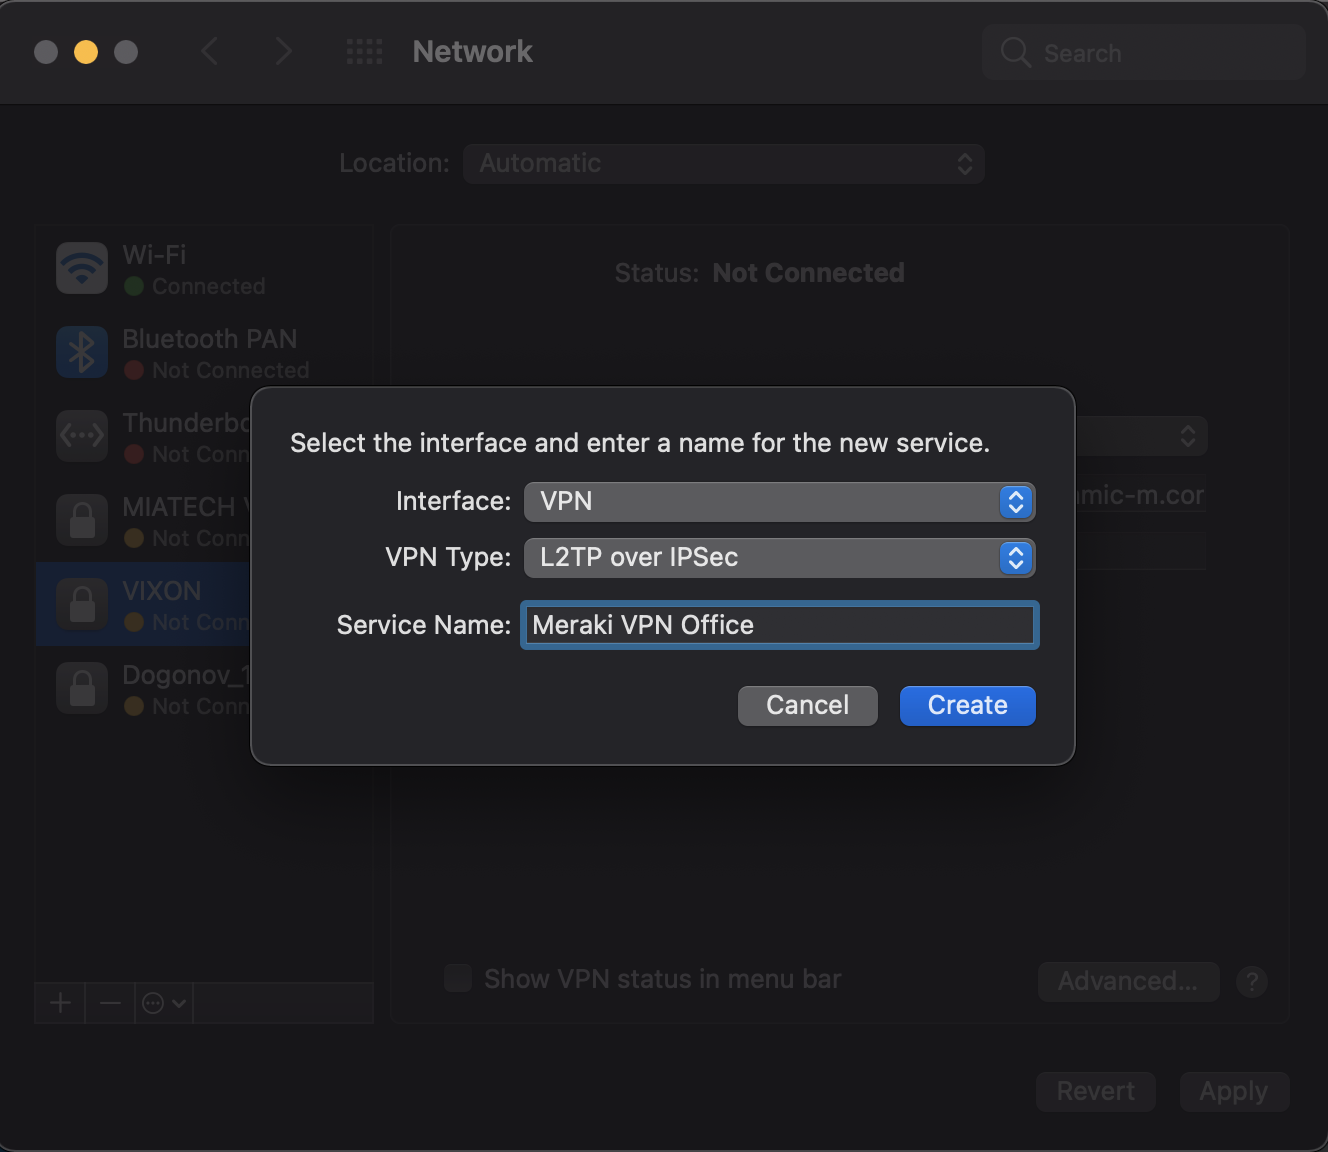
Press + button for add new VPN configuration
VPN configuration settings
Interface: VPN
VPN Type: L2TP over IPSec
Service Name: Some name vpn connection
Example:
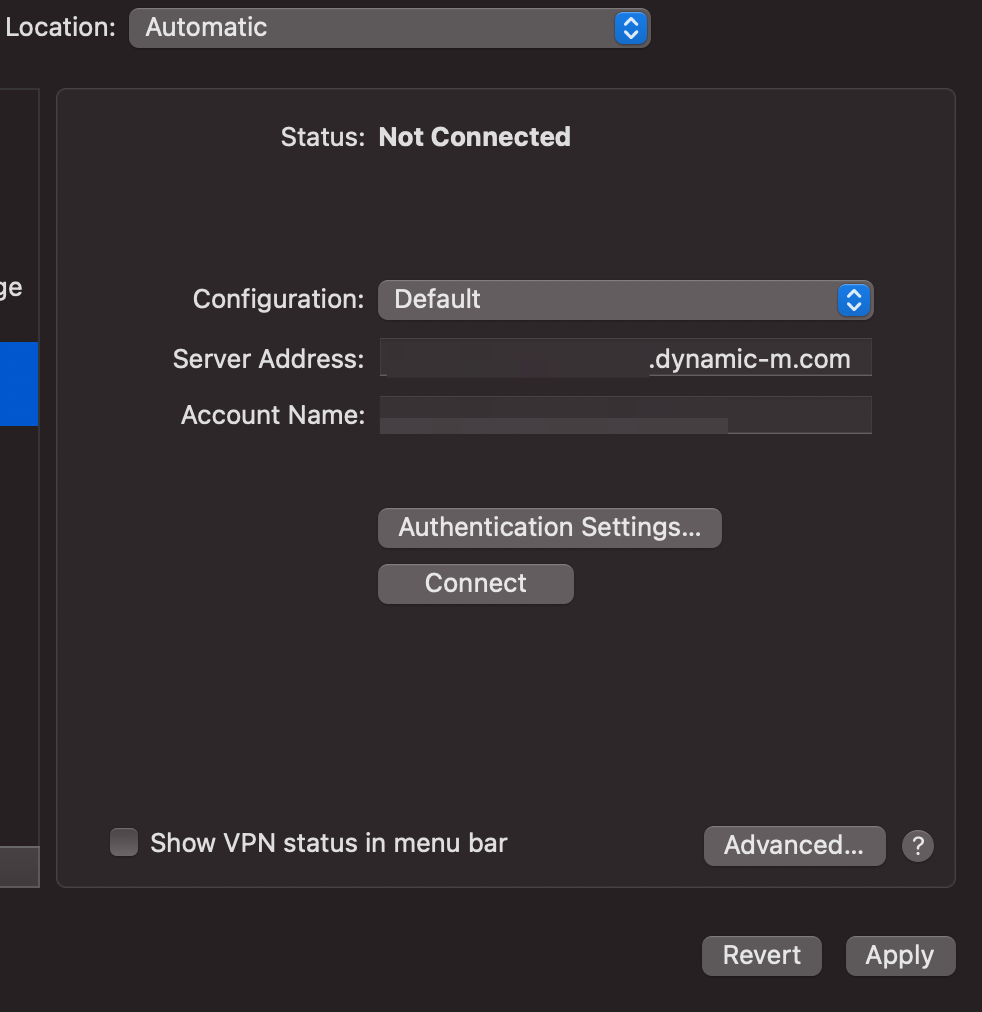
Type server address and username
Press Authentication Settings... button
Type User Authentication: Password: Your AD password
Type Machine Authentication: Shared secret: Shared secret
Check box: Show VPN status in menu bar
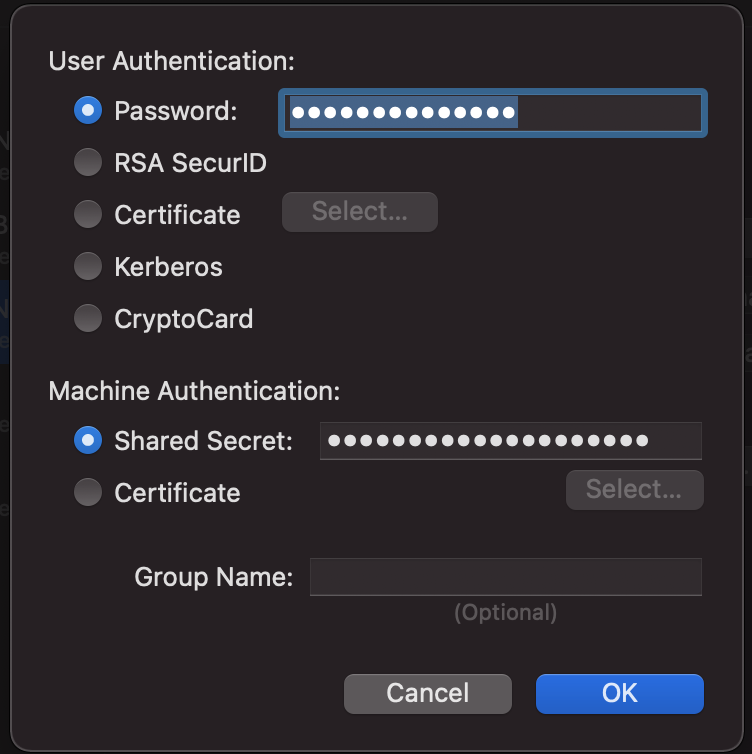
Press Ok for save changes
VPN configuration settings you will get from IT
Configuration is done. You can now press connect button.
If VPN server requered MFA, you will get MFA request on your phone.
Windows
Cisco Meraki uses the integrated Windows client for VPN connection (no Cisco client at this time).
To be able to connect with simple AD user account credentials, along with a simple pre-shared key, the steps are very simple.
Click on Start and type in VPN, click on Change Virtual Private Networks (VPN) 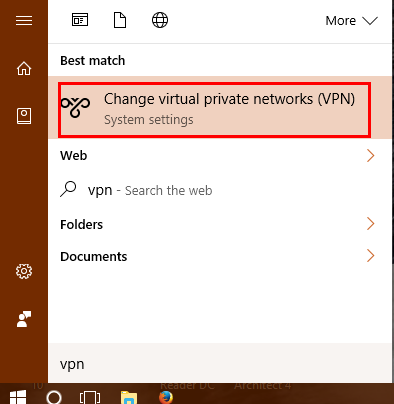
Click on Add a VPN connection 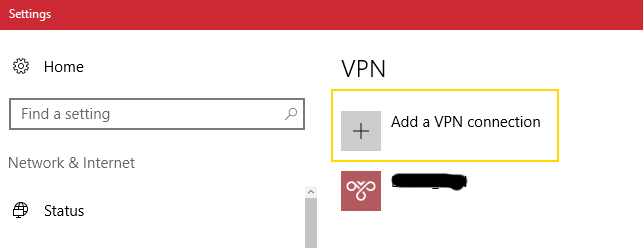
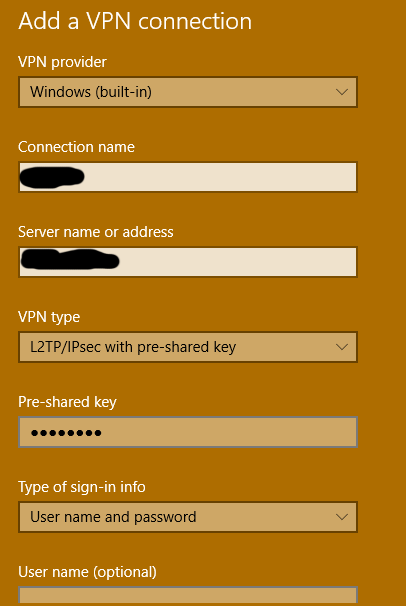
Pick VPN provider as Windows Name the connection Put in server name or IP Switch VPN type to L2TP/IPsec with pre-shared key Switch Type of sign in to User name and password Enter the username and password if you want to save it, or leave blank and user will have to enter it on connection Hit Save
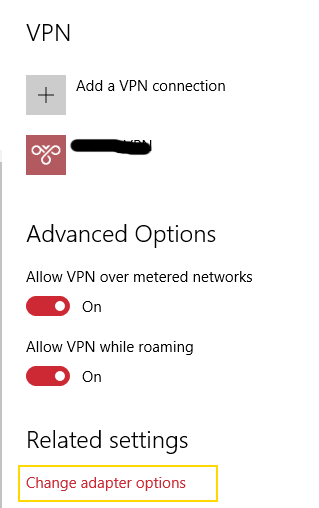
Once you hit Save, it will bring you back to the connection page Click on Change Adapter Options
In the adapter window, click on the adapter with the name you created in the VPN window Click on Change settings of this connection

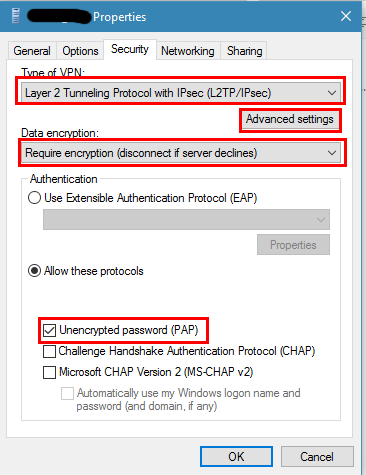
Click on Security tab Make sure Type of VPN is still Layer 2 Tunneling Protocol with IPsec Set Data encryption to Require encryption (disconnect if server declines) Set Allow these protocols Check Unencrypted password (PAP) - will still be, so don’t worry Click Advanced settings
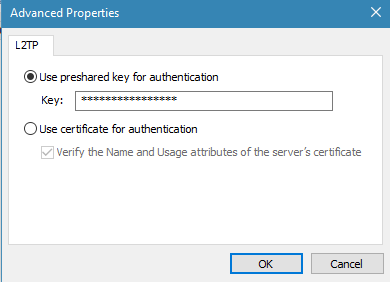
In the Advanced settings, click on Use preshared key Type in the key you want to use Hit OK to go back to the adapter settings Click OK to close the adapter settings and save. Close all other windows at this point.
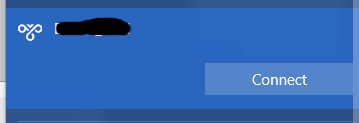
Connect ... Click on the network icon in the system tray Click on the VPN network connection name Click on Connect
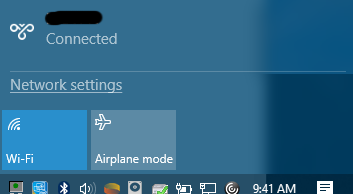
Verify you are connected Click on the network system tray icon again if the window closed or minimized You should now see the VPN network name listed and Connected underneath it (If you are done with your connection, click on it and click Disconnect)
VPN configuration settings you will get from IT
Configuration is done. You can now press connect button.
If VPN server requered MFA, you will get MFA request on your phone.